Growing culinary herbs at home is one of the most rewarding gardening projects, offering fresh flavor steps away from the kitchen. Yet, many beginner herb gardens fail within the first month. Potted basil suddenly wilts despite daily watering, rosemary foliage turns brown from the bottom up, and seedlings fail to establish strong root systems.
In most cases, the culprit is not inadequate sunlight or lack of fertilizer. The failure almost always traces back to two foundational decisions made on day one: using the wrong type of potting soil or placing plants in poorly drained, incorrectly sized containers.
Herbs have evolved across diverse ecosystems—ranging from the gravelly, arid hills of the Mediterranean to moisture-rich temperate riverbeds. Matching your container dimensions, drainage capabilities, and potting soil structure to the biological needs of your herbs makes ongoing care straightforward and predictable.
1. Selecting the Right Container: Material, Size, and Drainage
A container is not merely decorative; it functions as an artificial root zone. Because roots are confined to a finite volume of soil with no access to ground reservoirs, container design dictates moisture levels, soil aeration, and temperature stability.
+--------------------+------------------------------------+-----------------------------------------------+
| Container Material | Moisture Retention & Aeration      | Best For                                      |
+--------------------+------------------------------------+-----------------------------------------------+
| Unglazed Terracotta| High aeration; porous clay wicks   | Mediterranean herbs (rosemary, thyme, oregano)|
|                    | excess moisture quickly            | that require dry, well-oxygenated roots       |
+--------------------+------------------------------------+-----------------------------------------------+
| Glazed Ceramic     | High retention; non-porous walls   | Moisture-loving herbs (basil, parsley, mint,  |
| or Plastic         | prevent side evaporation           | chives); warm indoor window sills             |
+--------------------+------------------------------------+-----------------------------------------------+
| Fabric Grow Bags   | Maximum root aeration; self-prunes | Patio gardens, aggressive spreaders (mint),   |
|                    | roots; dries out rapidly in heat   | large outdoor container groupings             |
+--------------------+------------------------------------+-----------------------------------------------+
The Non-Negotiable Rule: Drainage Holes
Never plant herbs in a container that lacks drainage holes at the base. Decorative pots, Mason jars, or vintage tins without holes trap standing water around the bottom of the root ball. This displaces dissolved oxygen, creating anaerobic conditions that trigger pythium root rot within days.
If you wish to use a decorative cachepot that lacks drainage, pot the herb into an inexpensive plastic nursery pot with generous drainage holes, and slide that plastic pot inside the decorative container. Always remove the inner pot to drain freely after watering before returning it to the cachepot.
Sizing the Container Appropriately
Overpotting—placing a small seedling into an oversized container—is just as damaging as letting a plant become root-bound. Excess surrounding soil holds water far longer than the small root system can absorb, leading to stagnant, cold soil.
-
Shallow Rooters (6 to 8-inch depth, 1–2 gallon volume): Thyme, oregano, chives, and cilantro thrive in compact, shallow pots.
-
Moderate to Deep Rooters (10 to 12-inch depth, 2–3 gallon volume): Basil, flat-leaf parsley, and rosemary develop extensive root masses and require deeper soil reservoirs to prevent premature drying between waterings.
-
Aggressive Spreaders (Dedicated Containers Only): Spearmint and peppermint spread aggressively via subterranean runners (rhizomes). Never combine mint in a shared planter with other herbs; always confine it to its own 10-inch container to prevent it from choking out surrounding root systems.
2. Choosing and Mixing the Right Soil
The single most common mistake in home herb gardening is digging up soil directly from an outdoor garden bed or lawn. Field soil contains high proportions of silt and clay that compact into a dense, cement-like block inside container walls, suffocating root systems and preventing water from draining through the base.
Potting Soil vs. Garden Soil vs. Potting Mix
Herbs planted in containers require a soil-free, lightweight potting medium (often labeled “Potting Mix” or “Soilless Growing Medium”).
A high-performing herb mix provides three essential characteristics:
-
Physical Stability: Enough structural fiber to hold roots upright.
-
Moisture Retention: Materials like peat moss or coco coir that absorb water evenly.
-
Pore Space (Aeration): Coarse amendments that create permanent air channels, allowing water to drain quickly and roots to access oxygen.
The Two Moisture Profiles for Culinary Herbs
Different herbs have evolved in radically different soils. Tailor your potting mix to one of two general moisture categories:
Category A: The Mediterranean Mix (Drier, Leaner, Fast-Draining)
-
Herbs: Rosemary, thyme, oregano, sage, lavender, marjoram.
-
Soil Profile: Native to arid, rocky slopes. Excess moisture quickly kills their fine root hairs.
-
Recommended Mix:
-
60% high-grade, peat- or coco-coir-based potting mix
-
25% coarse perlite or horticultural pumice (for continuous aeration)
-
15% coarse horticultural sand or fine grit (to speed drainage and mimic native mineral soils)
-
Category B: The Moisture-Balanced Mix (Lush, Rich, Consistently Damp)
-
Herbs: Genovese basil, flat-leaf parsley, cilantro, chives, mint.
-
Soil Profile: Native to rich alluvial meadows or forest margins; they prefer continuous, even moisture without sitting in waterlogged mud.
-
Recommended Mix:
-
75% all-purpose potting mix (incorporating peat or coco coir)
-
20% coarse perlite (to prevent compaction)
-
5% aged compost or worm castings (for slow, steady trace nutrition)
-
3. Step-by-Step Planting Process
Planting herbs correctly ensures that the root system establishes contact with the soil medium without suffering physical shock or suffocation.
-
Cover Drainage Holes Properly: Place a small mesh screen, a single square of window screen, or a paper coffee filter over the bottom drainage hole. This holds the potting mix inside while allowing excess water to drain freely. Never add a layer of gravel, stones, or broken pottery to the bottom; this raises the perched water table and pushes waterlogging closer to the roots.
-
Pre-Moisten Your Potting Mix: Pour your dry soil mix into a bucket and stir in warm water until it achieves the dampness of a wrung-out sponge before filling the pot. Dry potting soil (particularly peat moss) is hydrophobic and resists water absorption if potted dry.
-
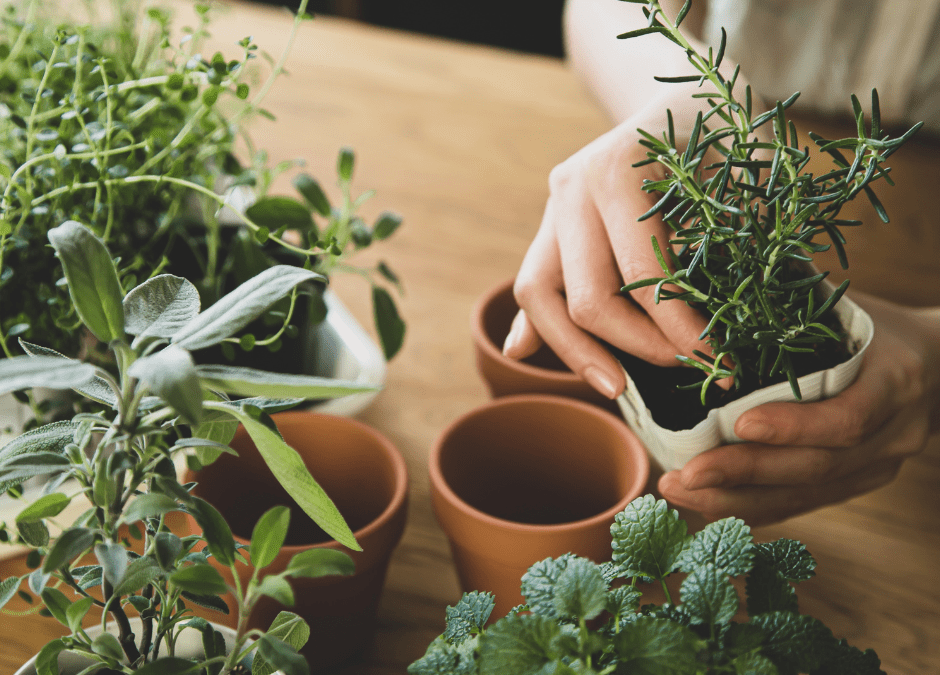
Inspect and Loosen the Nursery Root Ball: Gently slide the herb out of its store container. If roots are circling tightly around the bottom, tease them apart gently with your fingertips to encourage outward growth into the new mix.
-
Set Soil Depth Correctly: Position the plant so the top of the root ball sits roughly 1 inch below the rim of the pot. Never bury the plant stem deeper than it was originally growing in the nursery container.
-
Settle with Water: Fill around the sides with your prepared mix, firming down gently with your fingers to eliminate large air pockets. Water thoroughly until liquid flows freely from the bottom drainage holes, then empty any water collected in the drip tray beneath.
4. Common Mistakes and How to Avoid Them
-
Letting Pots Sit in Water Trays: Placing a container in a drainage saucer is essential for protecting furniture, but leaving the saucer filled with runoff water causes the soil to reabsorb moisture via capillary action. Empty drainage saucers within 30 minutes of watering.
-
Over-Fertilizing with High-Nitrogen Feeds: Herbs grown for their essential oils develop the most intense aroma and flavor when grown in relatively lean soils. Heavy applications of chemical fertilizers cause fast, watery leaf growth with diminished essential oil concentration and weak flavor. Use light, balanced organic fertilizers at half-strength every 4 to 6 weeks during the active spring and summer growing seasons.
-
Ignoring Container Heat Absorption: Dark plastic or metal containers sitting on a sunny southern patio can reach root-damaging temperatures in peak summer. Use light-colored ceramic, thick terracotta, or fabric grow bags to keep the root zones cool.
Frequently Asked Questions
Can I grow multiple different herbs together in one large container?
Yes, but only if you group herbs with identical moisture, light, and soil requirements. For example, rosemary, thyme, and oregano thrive together in a lean, fast-draining potting mix. In contrast, pairing drought-tolerant rosemary with moisture-hungry basil in the same planter inevitably causes one plant to decline.
How often should I water herbs in containers?
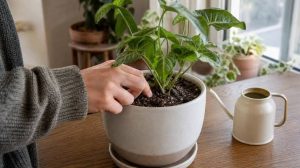
Do not water on a rigid calendar schedule. Instead, test the soil moisture with your finger. For Mediterranean herbs (rosemary, thyme, oregano), water only when the top 1 to 2 inches of soil feel completely dry. For moisture-loving herbs (basil, parsley, mint), water when the top half-inch of soil feels dry to the touch.
Can I reuse old potting soil from last year’s containers?
Reusing old potting soil directly from previous annual plantings is risky because structural peat fibers break down over time, reducing aeration and compacting the root zone. In addition, spent soil may harbor fungal pathogens or insect eggs. If reusing soil, refresh it by blending at least 50% fresh potting mix, fresh perlite, and a scoop of compost.
Why do my terracotta pots develop a white, crusty film?
Terracotta is a porous clay that allows water vapor to evaporate through the container walls. The white crust is a harmless accumulation of dissolved mineral salts and fertilizer residues left behind as moisture passes outward. It can be wiped away using a stiff brush dipped in diluted white vinegar and water.